# Pipeline
A pipeline refers to the stages through which a potential customer progresses from initial contact to conversion. It's essentially a visual representation of the sales process, outlining the steps that sales representatives take to move prospects from being leads to becoming paying customers.
# Create a Pipeline in Krayin
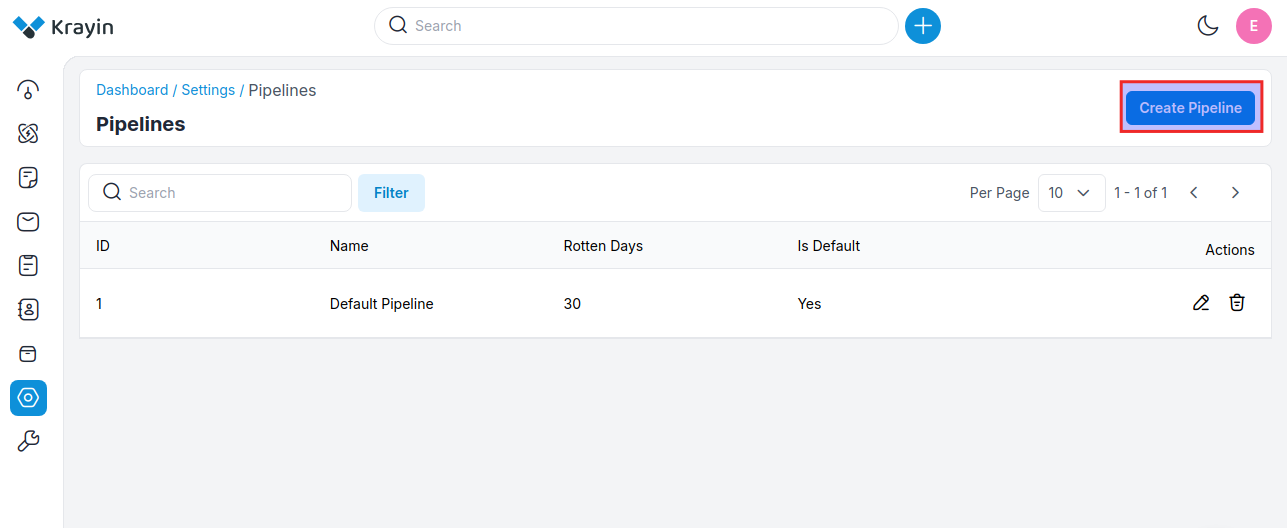
Step-1 Go to admin panel of krayin and click on Settings >> Pipeline >> Create Pipeline as shown in the below image.
Step-2 Enter the below details.
1) Name- Enter the name of the pipeline.
2) Rotten Days- Enter the days till your pipeline gets finished.
3) Mark as default- Pipeline can be managed from the enable/disable icon as per your requirements.
4) Add Stages- Add the stages of your pipeline as per your requirements as shown in the below image.
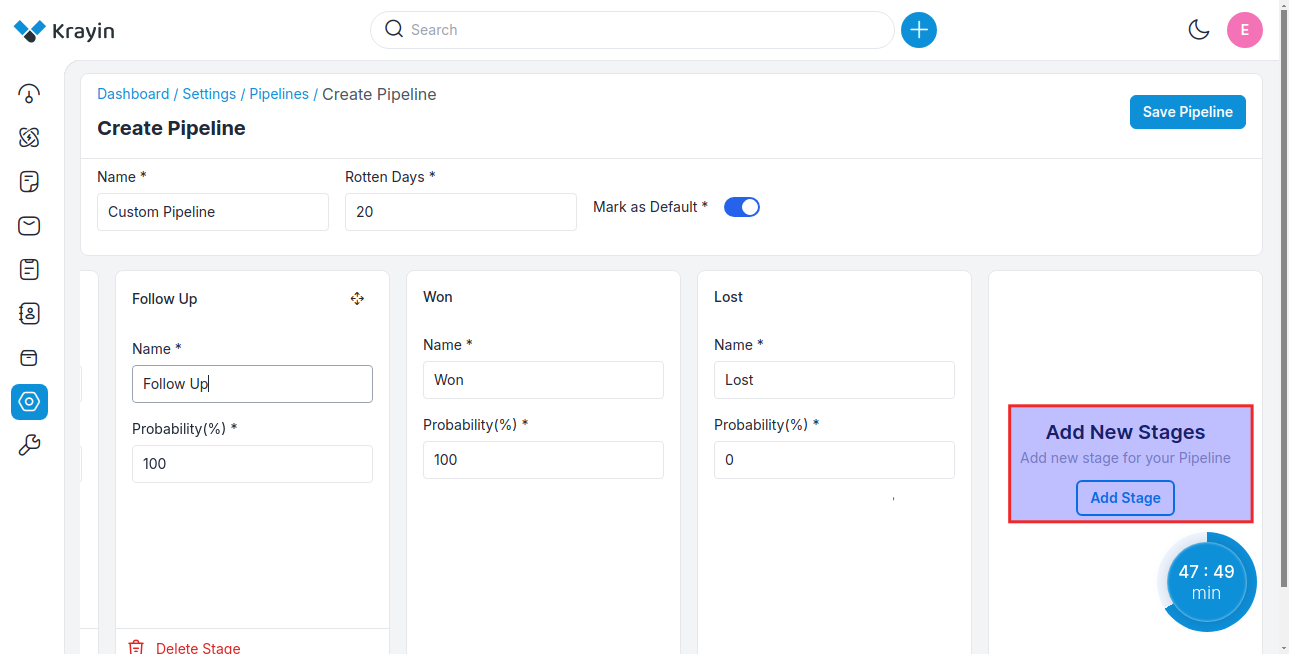
Now click on the Save Pipeline button.
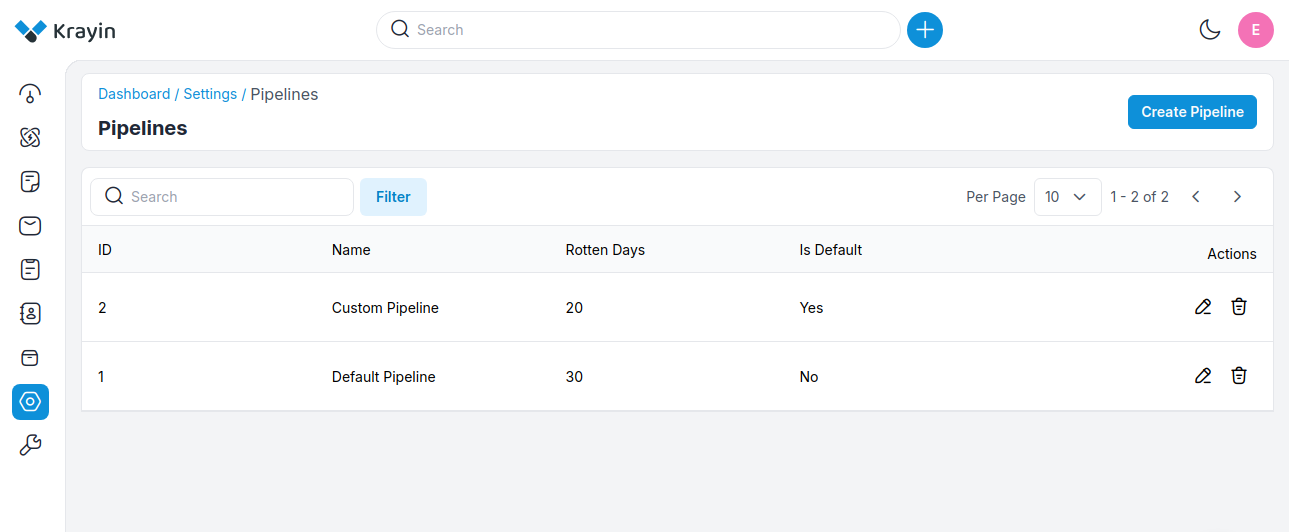
Step-3 A new record is created in the pipeline data grid as shown in the below image.
# Kanban View
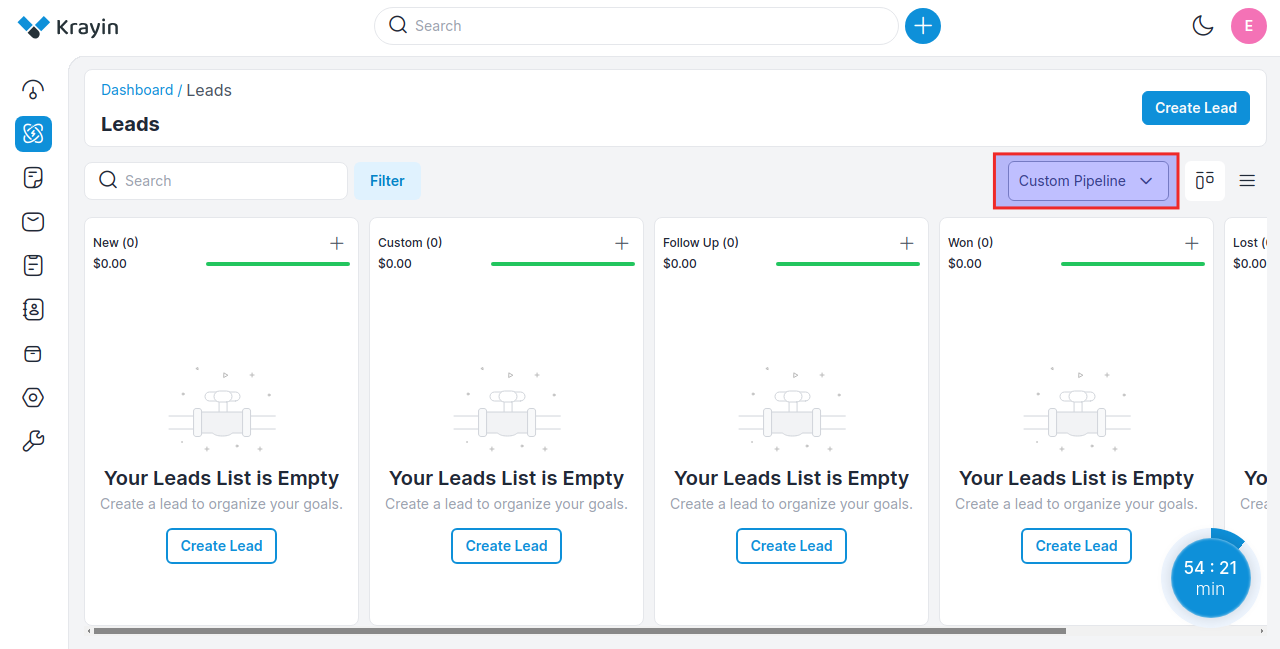
After the creation of the pipeline, all the created pipelines will be visible in the dropdown. You can check the pipeline Kanban view from Leads, as shown in the image below.
# Use of Filter in Pipeline
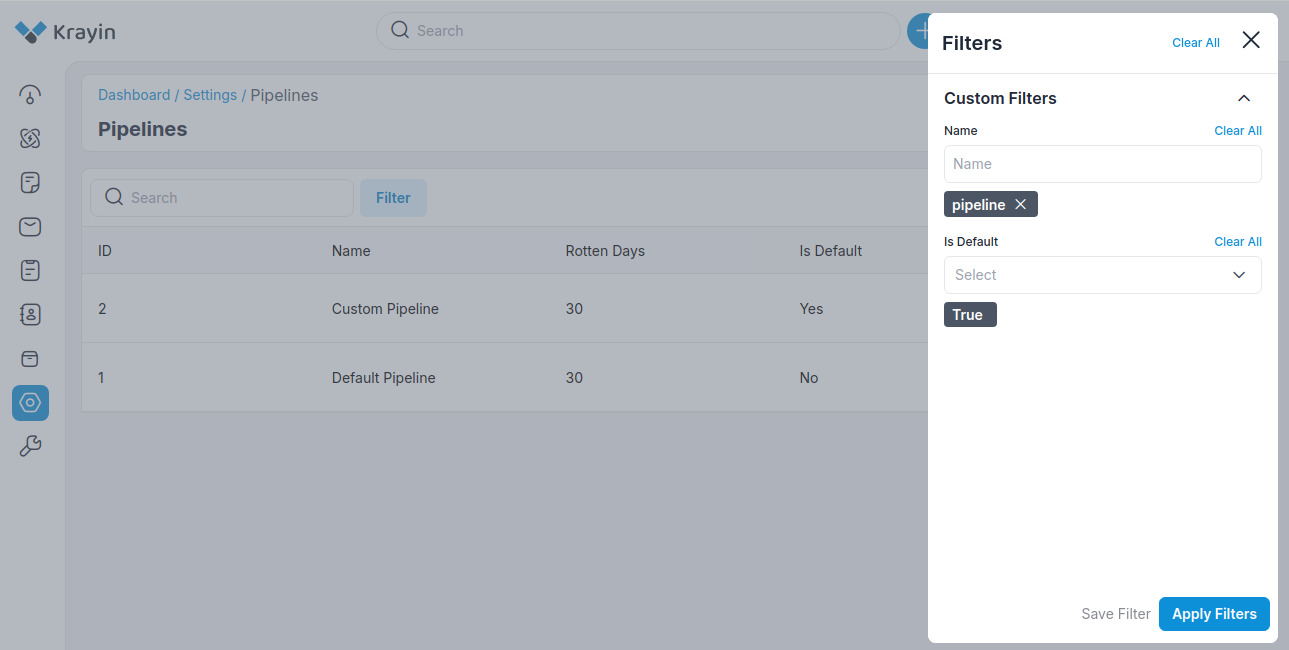
After creating the pipeline, you can use a “Filter” to find out the specific pipeline by using Name & Is Default.
# Actions in Pipeline
There are two types of actions you can perform in the Pipeline section:
- Edit
- Delete
A) Edit Pipeline
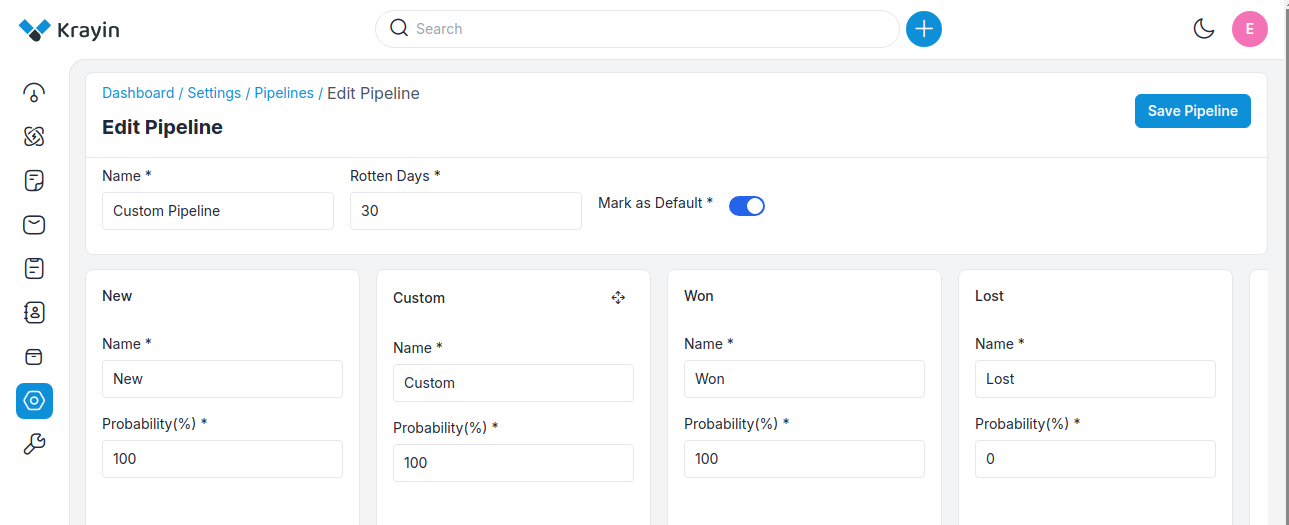
After pipeline creation, if you want to edit or update the Pipeline Name, Rotten Days, Default Status or you want to add or remove the Stages then go to the “Edit” option and click on Save Pipeline button after making changes.
B) Delete Pipeline
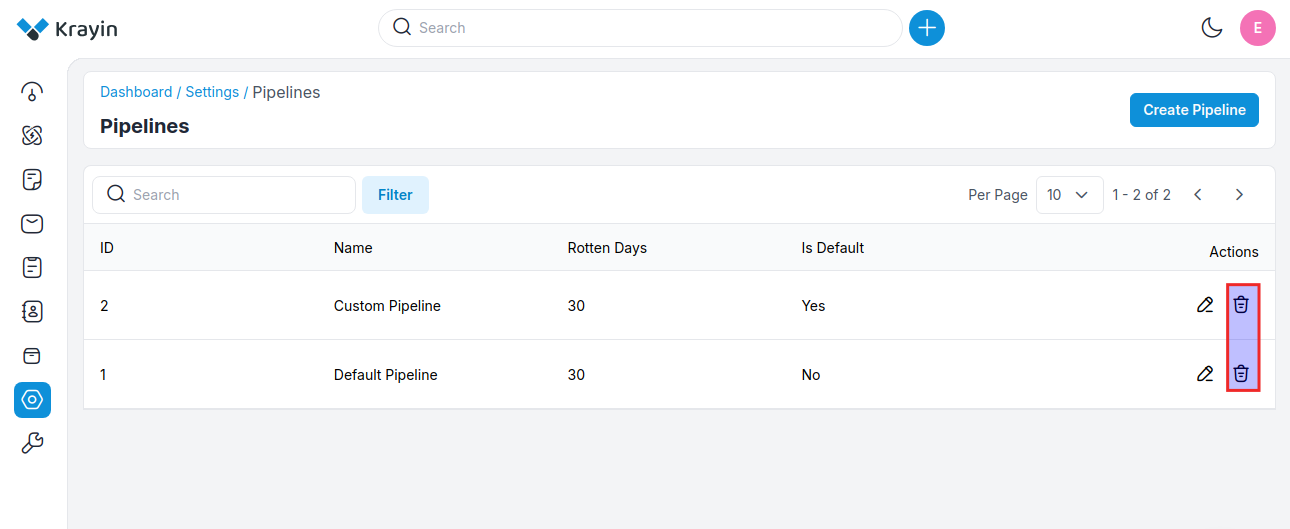
If you want to delete an unnecessary pipeline from your Krayin CRM, in the action click on Delete button, as shown in the below image.
By following the above steps you can easily create pipelines in Krayin CRM.
