# Webhooks
Webhooks are used to facilitate real-time communication between the CRM and other applications or services.
They allow the CRM to send data automatically whenever specific events occur, enhancing integration and workflow automation.
# Create Attributes in Krayin
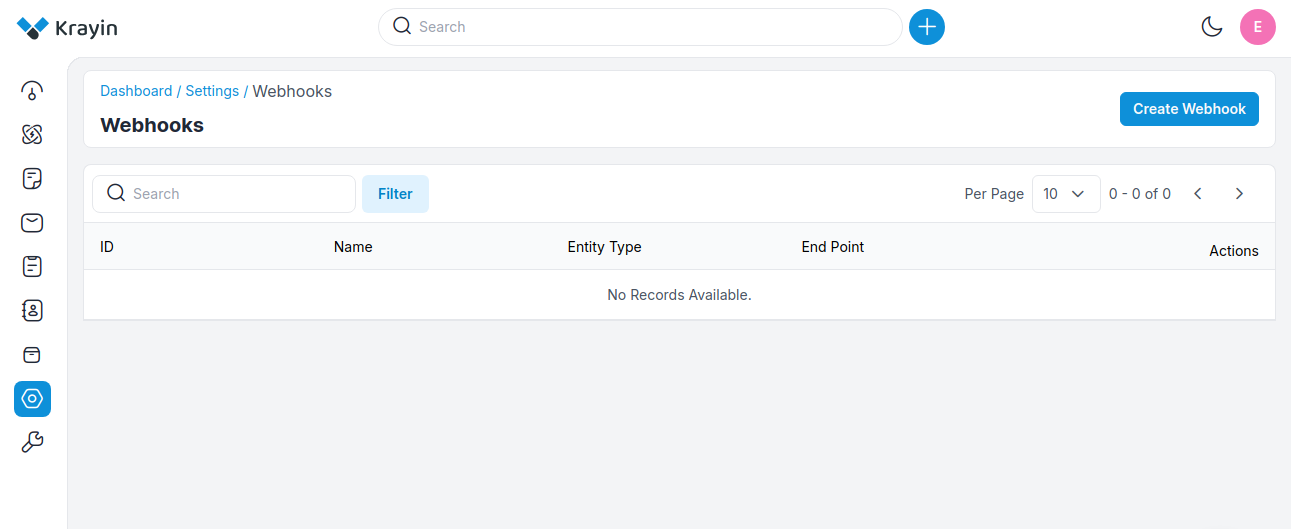
Step-1 Go to admin panel of krayin and click on Settings >> Webhooks >> Create Webhooks as shown in the below image.
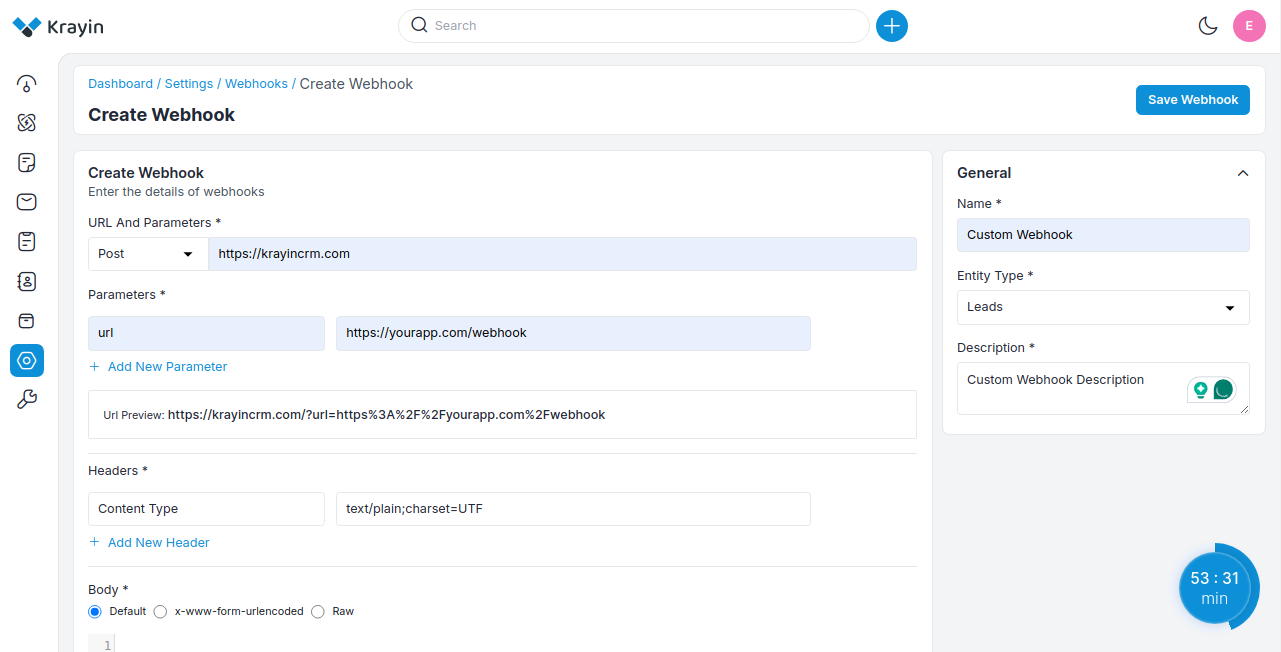
Step-2 Enter the below details.
1) URL And Parameters- Enter the URL endpoint you can also select the POST and PUT methods and the parameters i.e. Key and Value
2) Headers- Enter the Header key and value
3) Body- Select an option from the radio buttons: Default, x-www-form-urlencoded, or Raw. If you select the Raw option, you will see a dropdown to choose the format in which you want to receive the data: JSON or TEXT.
4) Name- Enter the name of the webhook.
5) Entity Type- Select the entity type from the dropdown i.e. lead, person, organization, product, quote, warehouse for the webhook.
6) Description- Enter the description of the Webhook.
At last, click on Save Webhook button.
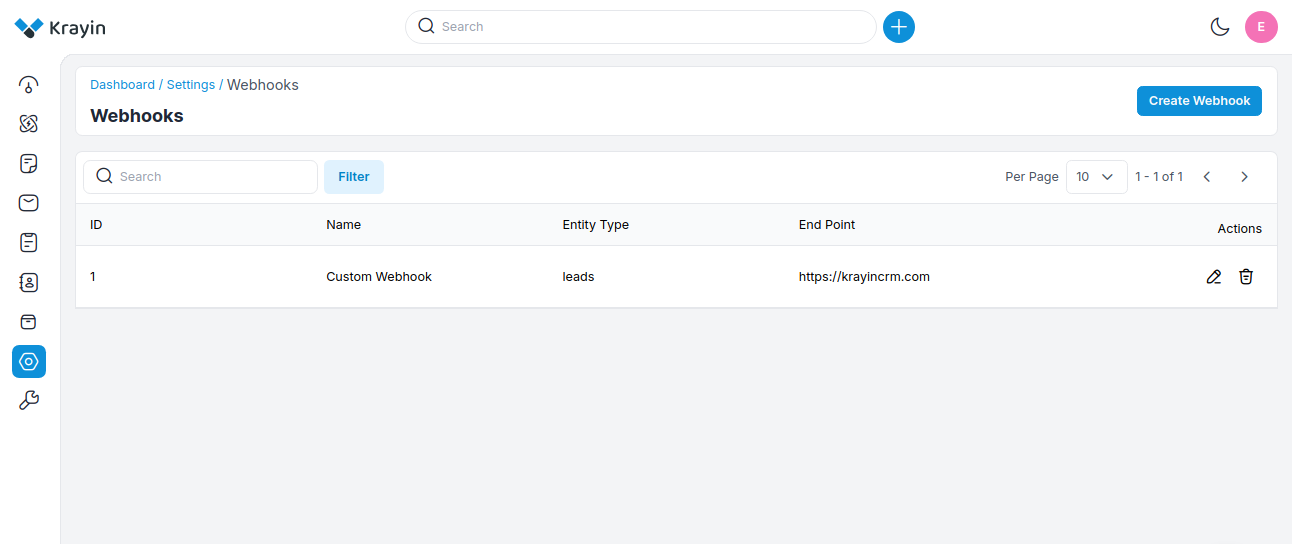
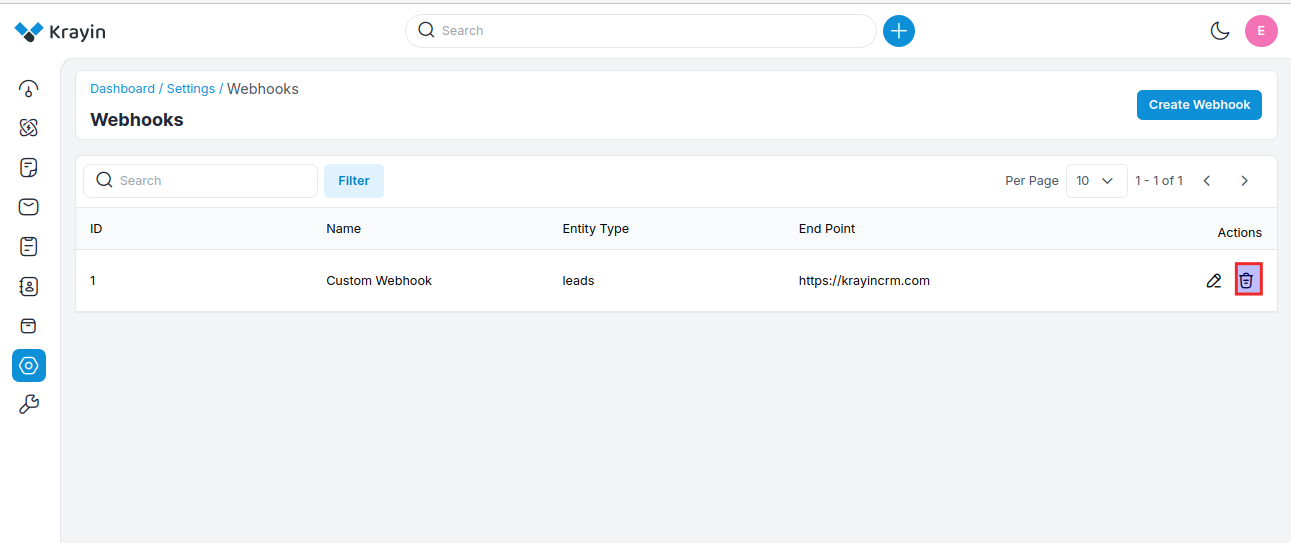
Step-3 A new record is created in the Webhook data grid as shown in the below image.
# Actions in Webhook
There are two types of Actions you can perform in the Webhook section:
- Edit
- Delete
A) Edit Webhook
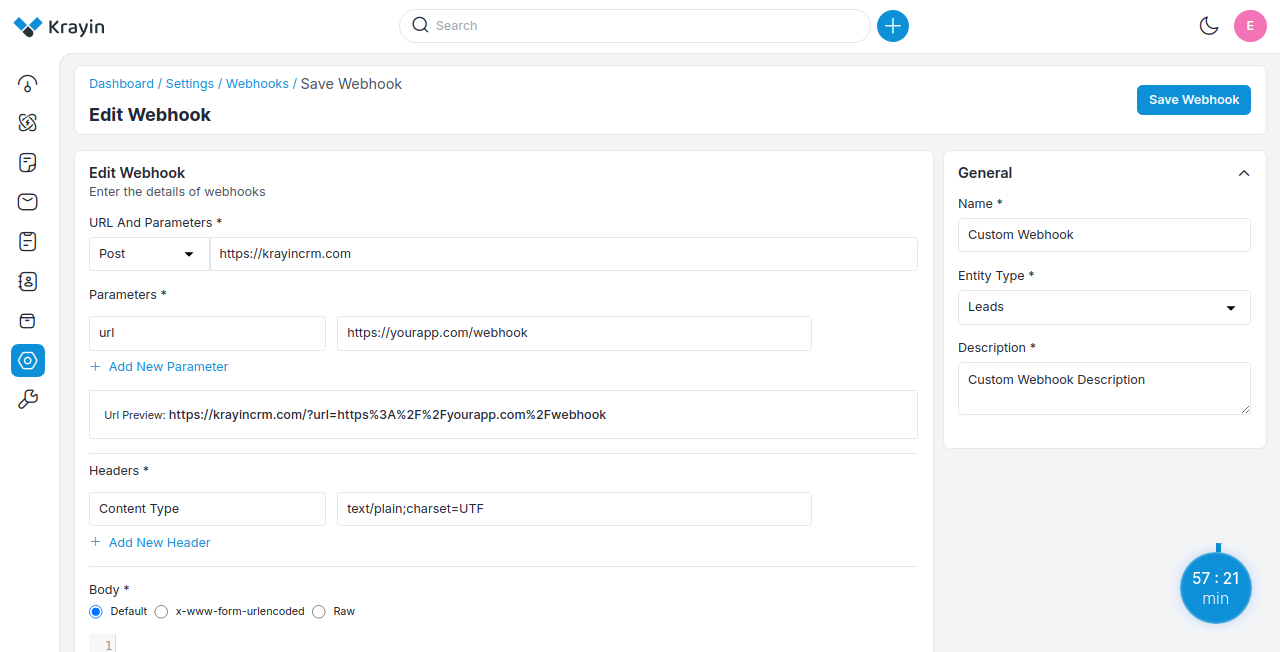
After Webhook creation, if you want to edit or update the Webhook URL & Parameters, Headers, Body, Name, Entity Type, Description values then go to the “Edit” option and click on Save Webhook button after making changes.
B) Deleting Webhook
If you want to delete an unnecessary Webhook from your Krayin CRM, in the action click on Delete button, as shown in the below image.
# Use of Filter in Webhook
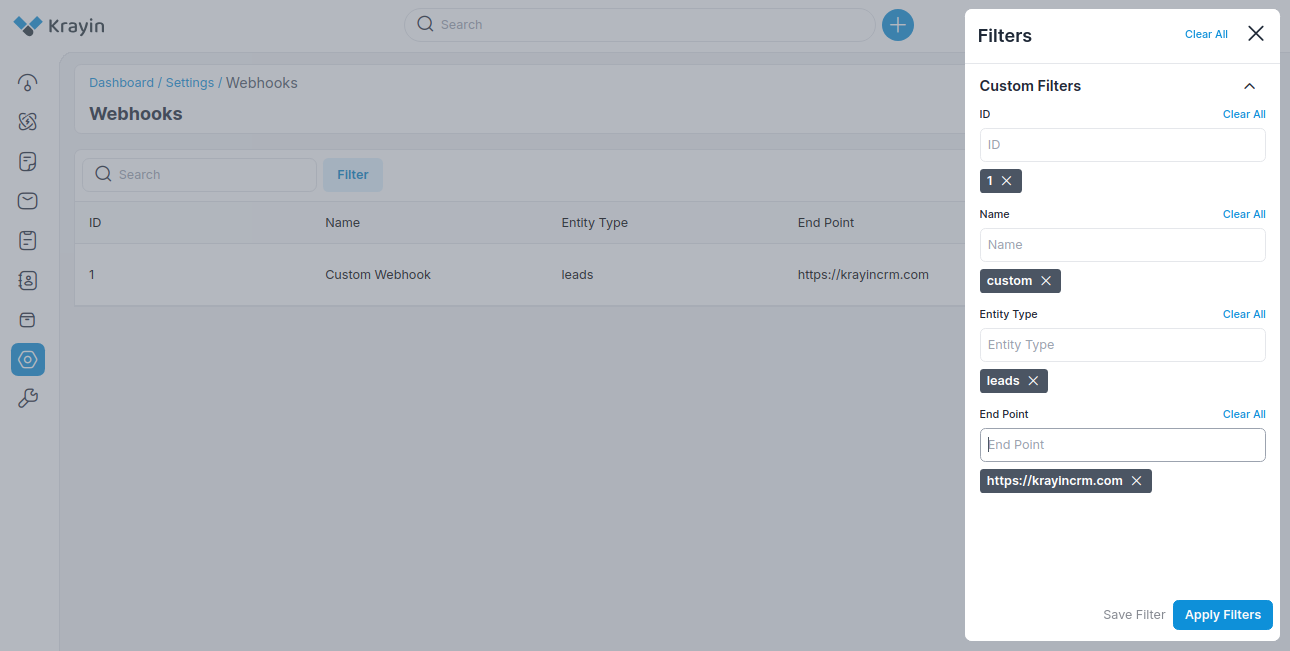
After creating a Webhook, you can use a “Filter” to find out the specific Webhook by using ID, Name, Entity Type, End Point as shown in the image below.
By following the above steps you can easily create & manage Webhook in Krayin CRM.
